Before installing new flooring, proper cleaning and preparation are key. Skipping this step can lead to poor adhesion, bumps, or damage to your new floor. Whether you’re doing it yourself or hiring professionals, a clean and level surface ensures a smoother installation. This article outlines the most important cleaning tasks you should complete before laying any new flooring materials.
Clear the Room Completely
Start by removing everything from the room. Furniture, rugs, and décor must be taken out. Don’t forget to take off any wall-mounted items if there’s a chance of debris or dust spreading. Removing everything gives you a full view of the surface. It also reduces the risk of anything getting in the way during cleaning or installation.
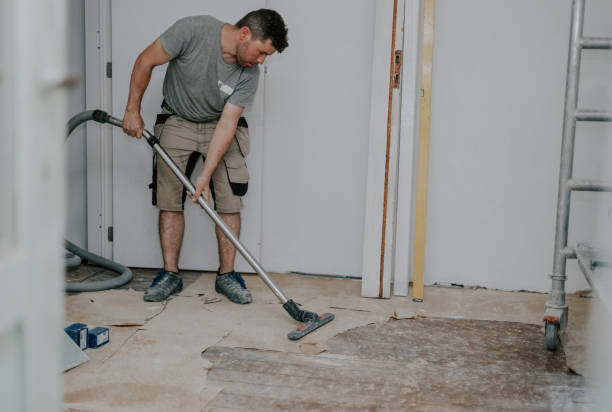
Sweep and Vacuum Thoroughly
Once the space is empty, sweep the entire surface. Even if it looks clean, dust and small particles can affect how well the new floor adheres. Follow up with a vacuum. Use one with a strong suction and an edge-cleaning attachment. Pay close attention to corners, edges, and seams where dust tends to collect.
Check for and Remove Any Adhesives or Debris
If there was old flooring, there might still be glue, staples, or residue left behind. These can prevent the new floor from laying flat. Use a scraper or adhesive remover if necessary. Be careful not to damage the surface while removing any stuck-on material.
Inspect the Surface for Damage
Before moving on, inspect the entire subfloor for damage. Look for cracks, uneven spots, or moisture issues. If any problems are found, they need to be repaired before installation. This step ensures the longevity and durability of your new floors.
Mop and Dry the Surface
After removing loose dirt and debris, mop the area. Use a damp—not soaking—mop to avoid water damage. Choose a cleaning solution that matches the type of subfloor you have. Let the surface dry completely before proceeding to the next steps.
Address Specific Surface Types
Not all subfloors are the same. Wood, concrete, and tile all require slightly different cleaning methods. For cement subfloor cleaning, you may need to use a more aggressive scrubber or specialized cleaner. This helps remove fine dust and gives your new flooring a solid, clean base.
Ensure the Surface Is Level
Use a level or straightedge to check for high or low spots. Uneven areas can cause issues with floating floors or click-lock systems. If needed, apply a floor-leveling compound. Follow the manufacturer’s instructions and let it cure properly before installation.
Final Dusting and Vacuum
Once everything is dry and level, go over the area one more time. A final vacuum or microfiber dust mop can pick up any remaining particles. This last step ensures that nothing interferes with your new floor bonding or settling correctly.
Mind the Edges and Corners
Edges and corners often collect hidden dirt and debris. Use a handheld vacuum or brush to clean these areas thoroughly. Don’t ignore vents or openings—dust can blow out during installation and land under your new floors.
Handle Household Preparation
Aside from cleaning the floor itself, don’t forget the surroundings. This includes baseboards, door frames, and even walls near the floor. Dust can fall onto your clean surface and interfere with installation. This step is especially important for household sub cleaning before new floor installion. A clean environment supports better results and fewer problems down the road.
Conclusion
Taking time to thoroughly clean before installing new flooring helps ensure a better outcome. It reduces the chance of installation issues and increases the life of your new floors. From clearing the room to handling surface-specific tasks, each step plays a vital role. Invest time in cleaning now, and you’ll thank yourself later.


